English

0 item(s)
View cart
You have no items in your shopping cart.
A personal locator beacon can bring search-and-rescue resources to your location when you are beyond cellular coverage, but only if responders can identify who owns it and who may need help. Knowing how to register a locator beacon is therefore part of deployment, not paperwork to postpone until after a trip.
For US owners of a 406 MHz personal locator beacon (PLB), registration connects the beacon's unique digital identity to current information about you, your emergency contacts, and your typical travel plans. When an SOS reaches the satellite system, that information helps rescue coordinators evaluate the alert and begin the right response quickly.
Start by checking the label and manual. A true PLB transmits on 406 MHz and is registered with the national beacon database. It is generally a one-time-purchase emergency device with no monthly service plan required for its core SOS function. Many models also transmit a 121.5 MHz homing signal to help rescuers locate you at close range, and some include GPS or Galileo GNSS positioning.
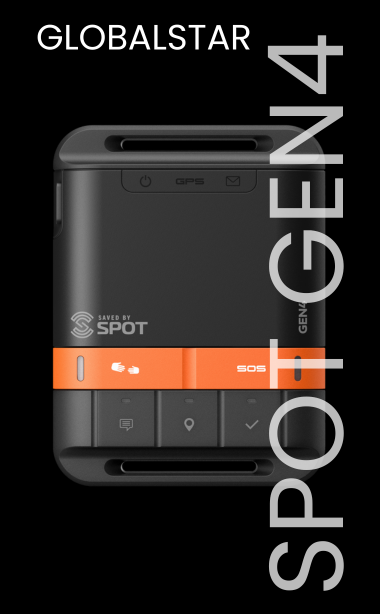
A satellite messenger, GPS tracker, or two-way communicator is different. Devices from brands such as Garmin or SPOT may offer SOS, tracking, check-ins, and messaging, but they normally require activation through the manufacturer's service platform and an airtime plan. Do not try to register a messenger as a PLB simply because both devices have an SOS button.
The distinction matters in an emergency. Your device's registration and activation process must match the network and rescue workflow it was designed to use. If you are unsure whether a unit is a PLB, an Outfitter Satellite specialist can help verify the equipment before deployment.
US 406 MHz beacon owners register through the NOAA SARSAT Beacon Registration Database. Registration is free, and the database is used by rescue authorities. Complete it as soon as you receive the beacon, not from the trailhead or dock just before departure.
You will need the unique beacon identification number. Depending on the model and documentation, it may be called a UIN, HEX ID, 15-character ID, serial number, or beacon ID. Use the identifier shown on the device label or supplied registration information. Do not guess, and do not use a retailer order number.
The process is straightforward:
An emergency contact is more than a name in a database. Pick people who answer unknown calls, can stay calm, and have access to your itinerary. A contact who is on the same unsupported backcountry trip may be unable to provide any information when it is needed most.
Tell them that you carry a PLB and explain what a call from rescue authorities could involve. Give them your route, departure and return dates, trailhead or launch point, planned camps, vehicle information, group size, and any changes to your plan. For field teams, the emergency contact may be a supervisor, operations desk, or 24-hour monitoring point rather than a family member.
Registration is not a one-time task. Update it whenever your phone number, address, email, emergency contacts, vehicle, vessel, aircraft, or ownership changes. A stale contact number can slow the confirmation process when minutes matter.
Review your record before every major season or remote deployment. Hunters may change camps and vehicles each year. Boaters may change vessels or marina locations. Utility crews and research teams can rotate equipment among staff. Build registration verification into your pre-trip or pre-mobilization checklist.
If you sell, donate, trade in, or transfer a beacon, remove it from your account and make sure the new owner completes registration under their own name. Never assume a previously registered PLB is ready for a new owner. The registration record must match the person or organization currently responsible for the device.
For company-owned beacons, assign clear accountability. Keep a record of the beacon ID, assigned user, issue date, battery expiration date, test history, and current registration status. A device stored in a fleet vehicle or safety kit is only useful if the team knows who is maintaining it.
Registration does not prove that the beacon will transmit correctly. Follow the manufacturer's instructions for a self-test before a trip and at the recommended intervals. Most PLBs have a dedicated test function that checks key internal systems without transmitting a live distress alert.
Use only the approved test procedure. Never activate the SOS function to see whether it works. A false distress alert can trigger a serious and costly response, pull resources from actual emergencies, and create unnecessary risk for rescuers.
Check the physical readiness of the beacon at the same time. Inspect the antenna, case, lanyard, seals, and battery expiration date. Confirm that the device is secured where it can be reached after a fall, capsize, vehicle rollover, or separation from a pack. A PLB buried in a dry bag at the bottom of a raft is not immediately accessible when conditions deteriorate.
Also understand your model's limitations. Satellite visibility can be affected by deep canyons, heavy tree cover, buildings, and the way you hold or position the antenna. Once activated for a real emergency, move to the clearest safe view of the sky available, deploy the antenna fully, and keep the unit on unless rescue authorities direct otherwise or the manufacturer says differently.
A PLB is designed for grave, life-threatening situations where self-rescue or normal communication is no longer a safe option. It is not a substitute for a route plan, navigation tools, weather awareness, survival equipment, or a way to request routine assistance.
For many travelers and teams, the strongest setup combines a registered PLB with a separate satellite communicator. The PLB provides a dedicated, no-subscription emergency signal, while a messenger can support routine check-ins, changing plans, coordination, and non-emergency communication. The right combination depends on your work environment, trip duration, group size, and need for two-way contact.
Before leaving, make sure everyone in the group knows where the beacon is, who may activate it, and what happens after activation. If your operation uses multiple devices, label them clearly and train personnel on the difference between a PLB SOS, a satellite messenger SOS, and a routine check-in.
A registered beacon is quiet insurance: you hope it remains unused, but you need it to work without confusion if the situation turns critical. Take ten minutes to confirm the record, test the device correctly, brief your contacts, and carry it where you can reach it. That preparation gives rescuers better information and gives you more confidence when the route leads beyond coverage.